4. Integrating the VTEX Checkout
In this guide, you'll learn how to integrate your FastStore project with the VTEX Checkout. The Checkout comprehends the pages responsible for receiving the shopper's information necessary to process an order.
To successfully integrate the VTEX Checkout with your FastStore project, you must ensure that:
- Shoppers will be presented with an updated version of the Order Placed page once they place an order.
- All links in the Header and Footer of the Checkout point to your FastStore website.
Before you begin
Before proceeding any further, make sure you have already configured the custom domain name of your FastStore website.
Step by step
Step 1 - Setting up the Order Placed page
Take the following steps to guarantee shoppers will be redirected to the newest version of the Order Placed page in your store:
-
In the VTEX Admin, access Store Settings > Storefront > Checkout.
-
Click on the gear button
⚙in the Default card. -
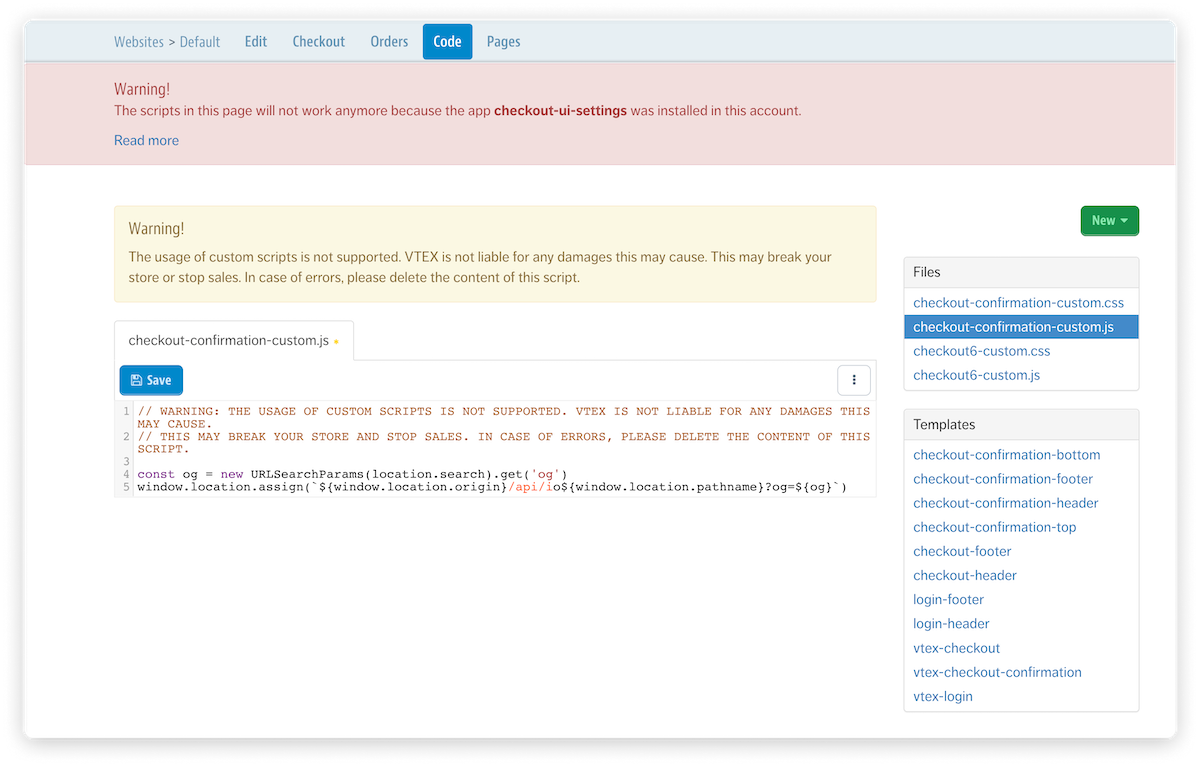
Change to the Code tab.
-
Select
checkout-confirmation-custom.jsunder Files. -
Add the following JavaScript code in the editor:
-
Click on Save. Notice that, as soon as you hit the Save button, your changes will be live to all clients.
Step 2 - Adjusting the Header and Footer links of the Checkout pages
We now need to update the links presented in the Header and Footer of the Checkout pages, guaranteeing that all links point to your FastStore website. To do that, take the following steps.
-
Still in the VTEX Admin at the Store Settings > Storefront > Checkout > Default > Code tab, click on
checkout-headerunder Template. -
Edit the
checkout-headercode according to your scenario, making sure all links are pointing to your FastStore website. For example: -
Click on Save. Notice that, as soon as you hit the Save button, your changes will be live to all clients.
Once you adjust all the Header links of the Checkout pages, make sure to repeat the process in the step 2 for the
checkout-footer file to adjust the Checkout Footer.